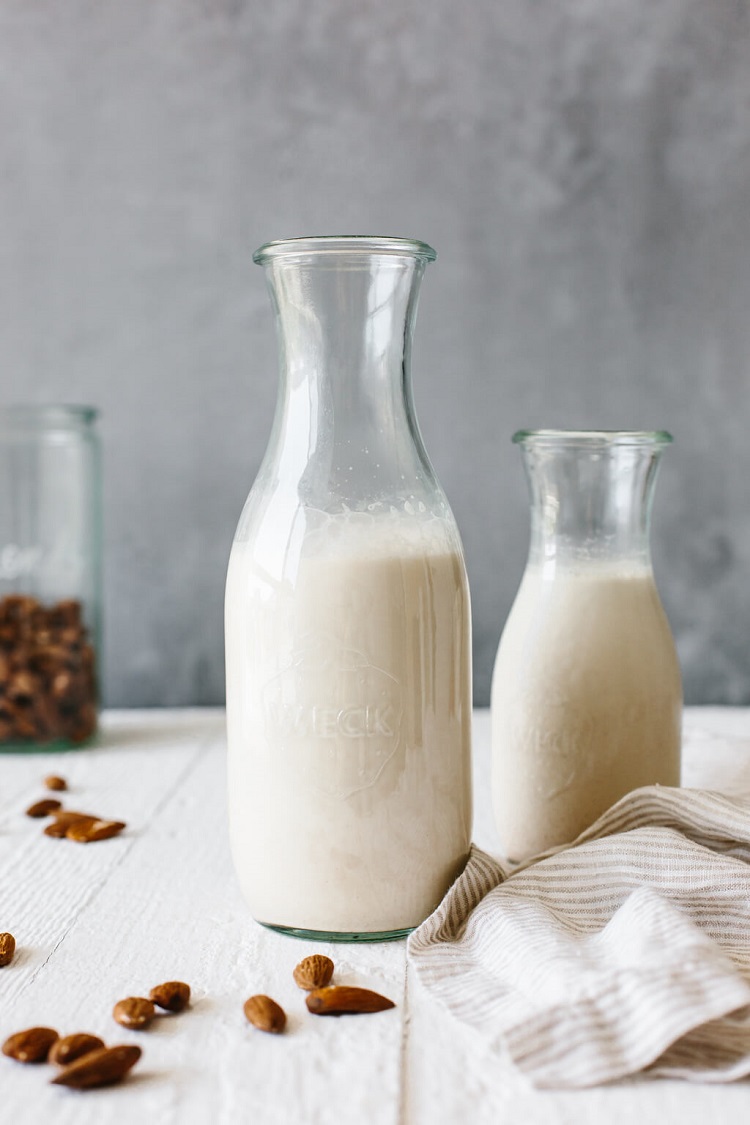
Home Made Almond Milk
Home Made Almond Milk
Home made almond milk in the market with a high price is hard to find a product, although it is very simple. A rich, creamy, homemade almond milk is bone-friendly. Using almond milk is a great way to get calcium, magnesium, vitamin E and many healthy oils. We have used almonds in this recipe, but try different nuts such as cashew nuts, pumpkin seeds or nuts. Blanched almonds are the basis of the recipe. You can get blanched almonds easily, or you can easily get them with two methods.

Overnight Soaking Method
To do so, simply place almonds in a bowl and fill it with cold tap water until they are fully covered. Cover the bowl loosely with plastic wrap or a paper towel and let is sit overnight.
In the morning, drain almonds using a colander and gently squeeze the almonds to loosen their skin. It should come off easily.

Boiling Method
Alternatively, you can fill a small saucepan with 2 cups of water and bring it to a boil. Once it comes to a boil, you can place the almonds into the saucepan and let them sit in there for 2 minutes.
Drain using a colander, rinse under cold water and start peeling off immediately. Here there are 2 important things:
- Be sure to keep an eye on the almonds as if you let them sit longer they will start softening too much. You should drain them as soon as you see their skins start looking wrinkled. In my experiments I found out that this happens between 1 or 2 minutes.
Once you drain and rinse them, you need to start peeling the skins while they are still warm because as they sit in room temperature (and cool down) it becomes harder to remove the skins. - Depending on what recipe you plan on using them, it is important to make sure to dry them completely. This step is crucial especially if you are using blanched almonds to make almond flour at home.

What To Do With The Almond Skins?
As you peel almonds you will be left with a lot of skins. Before this experiment, I used to throw them away. However, during my research I found out that the skin is a full antioxidants and vitamin E and promotes good bacteria in the gut.
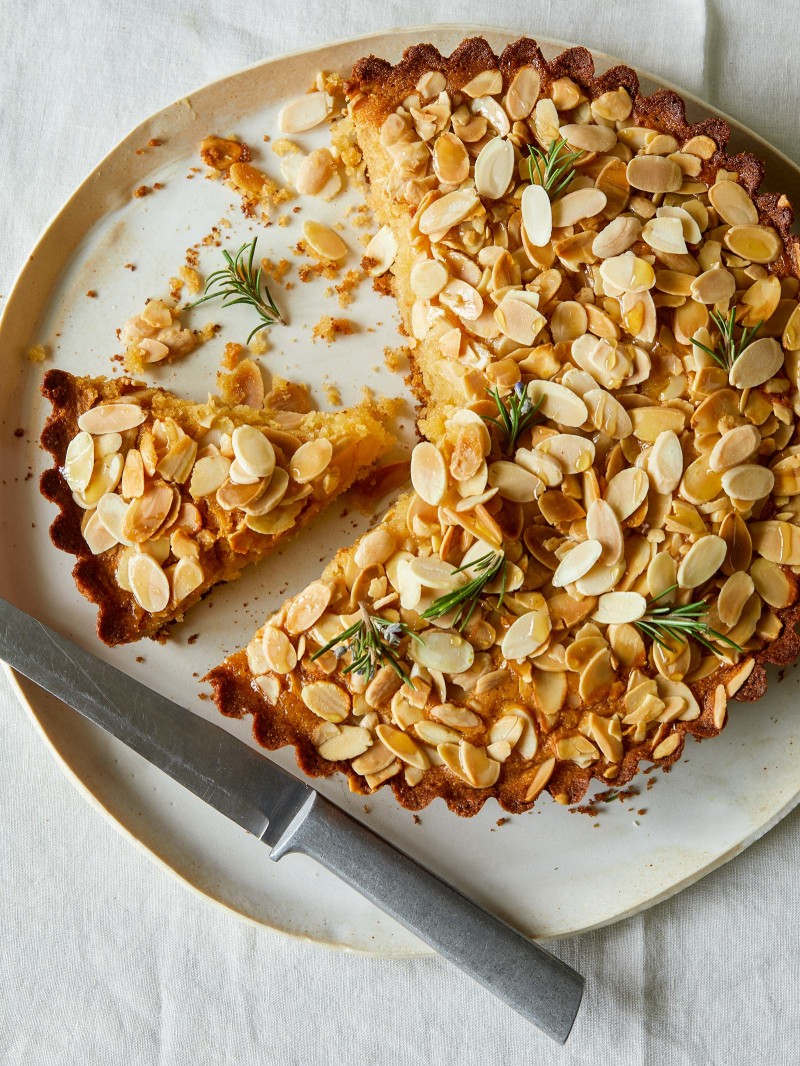
Nowadays instead of throwing them away, I dry them on a sheet pan, process them in a food processor to later add in my smoothies or oatmeal in the morning.
And if you want to more recipes with almond milk click here.
Ingredients
1 cup raw almonds (they should not be salted or roasted)
2 cups water – cold tap water is fine
Opsionel;
1 teaspoon vanilla extract
1 tablespoon maple syrup, honey or 2-3 pieces of large dates
a pinch of sea salt
Steps
- Place the fresh, cold water in blendera with blanched almonds and four cups. Add the optional ingredients in the first stage.
- Mix for two minutes at the high setting.
- Filter the milk milk into a bowl or a large measuring cup through several layers of fine cheesecloth.
- Pour almond milk into an airtight storage container and allow to stand for up to 3 days in the refrigerator.